The origins of Beer-Can Chicken are not clearly defined. But, at some point in the 1970s, drinking beer and eating barbecued chicken at college tailgate parties just wasn’t enough.

So, perhaps during the stupor of a reverie, somebody got the bright idea to stick a half can of beer into the body cavity of a whole chicken and roast it on a grill.
In retrospect, all we can say is: It worked!
The proliferation of this method of cooking a chicken spread in popularity across campuses and tailgate parties until it hit the competition-barbecue circuit and became an institutionalized favorite all over the country. Article after article—even books—have been written about Beer-Can Chicken under its many other monikers, including Drunken Chicken and Dancing Chicken.
So why is everybody gaga over Beer-Can Chicken? Well, it is crispy on the outside, deliciously moist through and through, and relatively easy to prepare.
About the Chicken

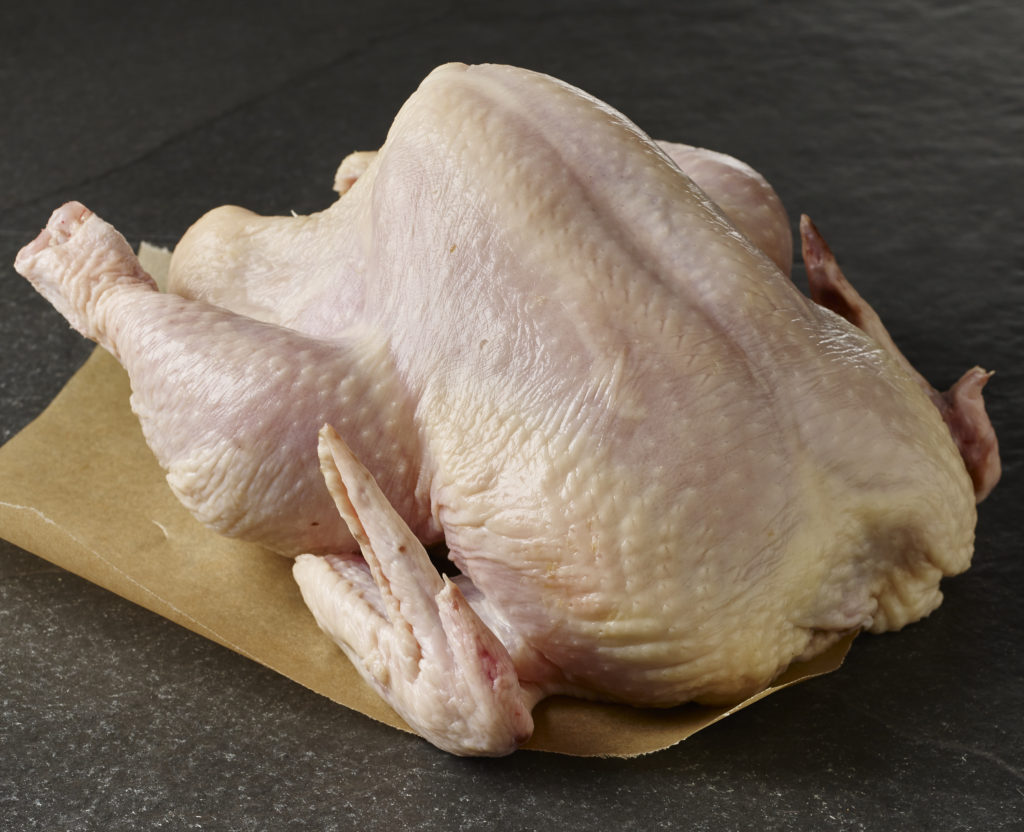
To make Beer-Can Chicken, a plump, whole 3½-pound fryer is the best choice.
Rinse and dry the bird and sprinkle the body cavity with a liberal amount of your favorite seasoning or dry rub. Lobel’s All-Purpose Savory Seasoning is great for this use.
Brush olive, canola, or peanut oil all over the outside of the chicken and then sprinkle liberally with the seasoning.
Tuck the wing tips under so they hold snug to the body.
About the Beer

The same rule of selecting a wine for cooking applies to choosing a beer for this recipe: Don’t choose a beer you wouldn’t drink. In fact, choose your favorite beer or experiment with different types, say a pilsner, lager, amber, or stout to see which suits your fancy best.
Also, depending on the size of your chicken, a 12-ounce can of beer is a good choice; although a taller 16-ounce can of beer would be best and more stable on the grill for a larger bird.
Open the beer and pour out or drink half the can. With a bottle opener, punch 2 to 3 more holes in the top. Alternatively, you can use a can opener and take the top off entirely. Then, add a couple of tablespoons of seasoning to the remaining beer.
Assembly
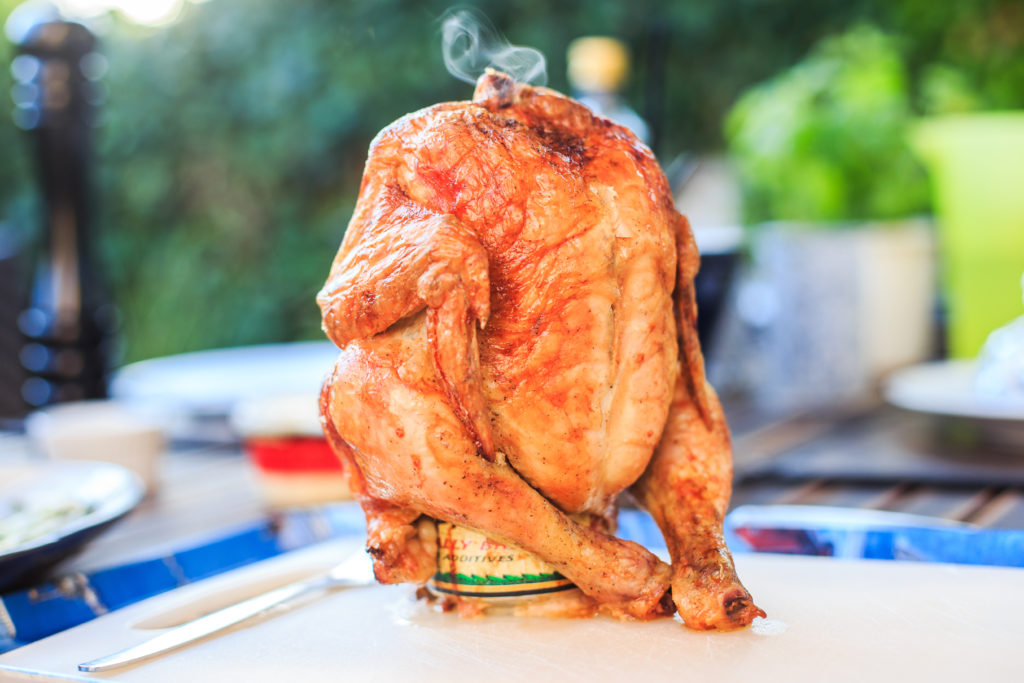
Off the heat, carefully slide the chicken onto the beer can, neck side up, so the chicken rests on the can and its two legs.
With one hand slide a spatula under the beer can as you steady the upper portion of the chicken with your other hand. Then lift and transfer to the grill.
When the chicken is done, use the same method to remove it from the grill. Place it on a heat-resistant surface before removing the chicken from the beer can.
The Fire
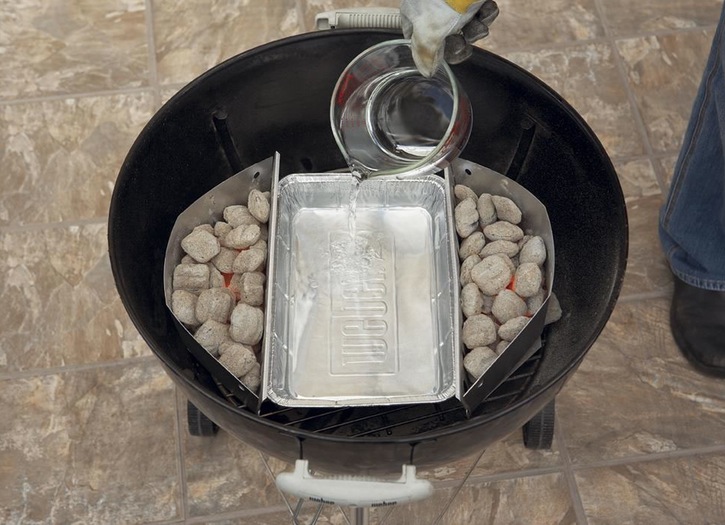
Set your grill up for indirect cooking.
For a charcoal grill, it is best to mound the coals on opposite sides of the grill with no coals in the middle. Place a drip pan between the piles of coals.
When ready to roast, position the chicken in the middle of the grill grid, over the drip pan.
Gas grills have between 2 and 6 burners which run either vertically or horizontally, so you may need to experiment with the burner configuration to ensure you reach a consistent running temperature of 350° to 450°F.
So using a 3-burner grill as an example, have one of the burners on the end set to medium-high heat and the other two burners turned off. Set a drip pan on the unlit burners, fill with liquid (anything from water to wine with aromatic herbs and vegetables—or beer), and replace the grill grid over it.
You can also put the drip pan directly on the grill grid and set the chicken inside it.
Is It Done Yet?
Depending on the running temperature of your fire, the chicken will take from 45 minutes to 1 hour 15 minutes to grill-roast. You know it is done when the internal temperature reaches 160° to 165°F in the breast, 170°F in the thigh, and the juices in the thigh run clear when the skin is pricked.
After removing the chicken from the grill and taking it off the beer can, let the bird rest for 10 to 15 minutes before carving.
Beer-Can Alternatives
Beer cans aren’t the most steady devices to use on a hot grill, and so the barbecue world has come up with myriad other options, from wire frames with a center holder for the beer can to more substantial devices of solid construction that incorporate a bottom tray to stabilize the entire assembly. With these roasters, you can easily substitute a wine, stock, or other liquid for the beer.
To find the type that is best for you, do a search using the term: beer-can chicken roasters.
Some have even called into service a bundt pan. And while its essential construction suits this purpose, the sides are too high to allow the entire chicken to crisp. Sadly, the portion that is inside the bundt pan will steam rather than roast and crisp.
Have you ever made Beer-Can Chicken? What type of vessel do you use? What’s your favorite beer to use? What’s your favorite spice rub to use? What do you serve with Beer-Can Chicken?


Leave Your Response